Crucial Transitions: Getting In and Out of Sitting

Transitions are an essential aspect of gross motor development. Everyone moves from position to position all day long, deciding what’s comfortable and functional. But we rarely think about how we move in and out of those positions, that is, unless it is a challenge.
How do we grab something out of reach? How do we shift our bodies from lying down to sitting? How do we get ourselves moving once we’re stationary?
For our babies, transitioning to and from sitting and side-sitting positions is a building block for future transitions — and future independence. With this foundation, your baby will start reaching, moving from belly to sitting positions, shifting from sitting to crawling, and pulling up to stand.

We know how important these transitions are and want to help you pay special attention to these steps. We’ve compiled a three-step exercise set that will give your child the skills to transition in and out of sitting. They should only be done once your child has mastered sitting independently while playing with a toy. Typically, transitioning from sitting to belly occurs at around nine months of age and pushing up to transition from belly-crawling or on hands and knees occurs between 10 or 11 months.
These three steps, and the exercises that will get your baby there, are the key to a solid foundation for transitions:
Step 1: Encourage Cross-Body Reaching

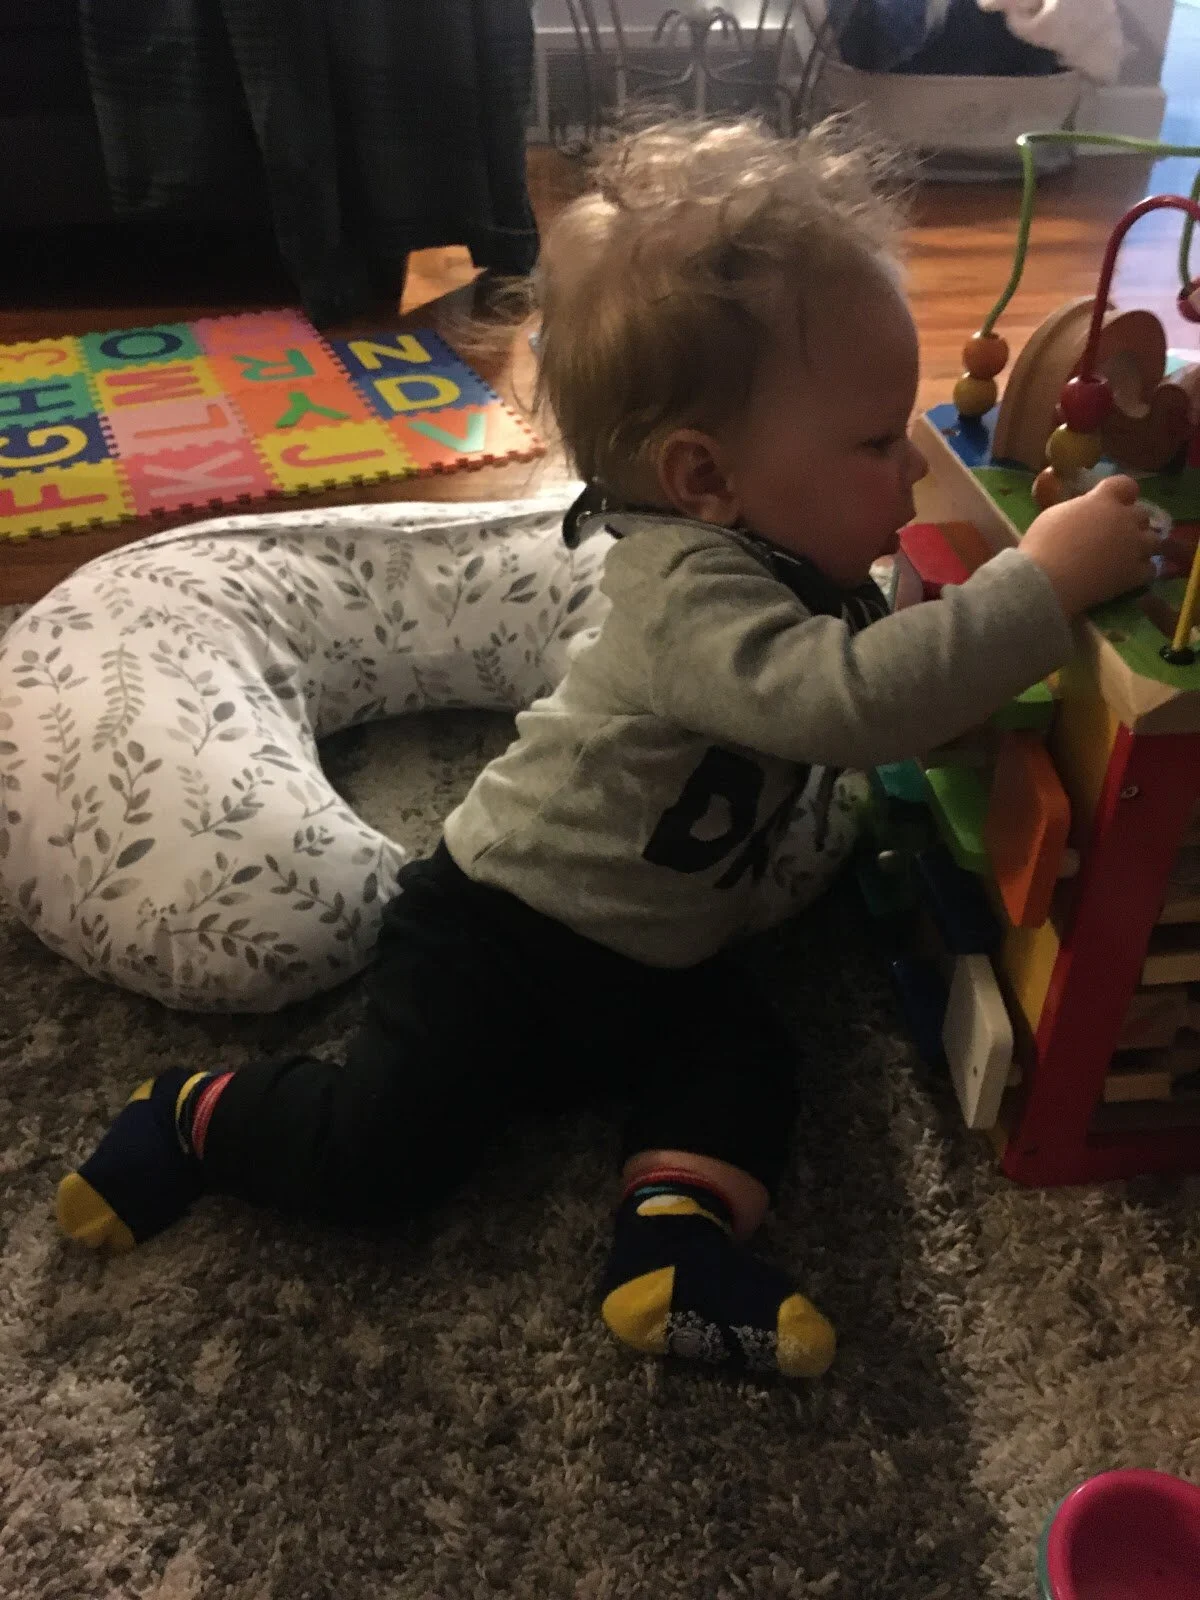
Start by having your child sit independently in front of you. Most likely, they’ll be sitting in a ring-sitting position.
Hold an object at your baby’s left side. Encourage them to reach with their right hand, across their body, to the object.
If they need help stabilizing and not tipping to the side, place your hand on their right hip, place their left hand on the ground next to them, and place an object, toy, or pacifier on that same side. You may want to start by placing the object on or beside their own left foot. Remember, your right hand is on their right hip anchoring their right hip into the ground to help them return to sitting!
The next step is crucial: give them lots of praise and cheers!
After that, you do it again and again and again. Repetition is key here. Make sure to always practice this on both sides of their body, since symmetry is important with any gross-motor activities.
Once they get the hang of it, they may not need your hand to help them bring them back to the center. Pay close attention to their growing abilities and adjust your support as needed.
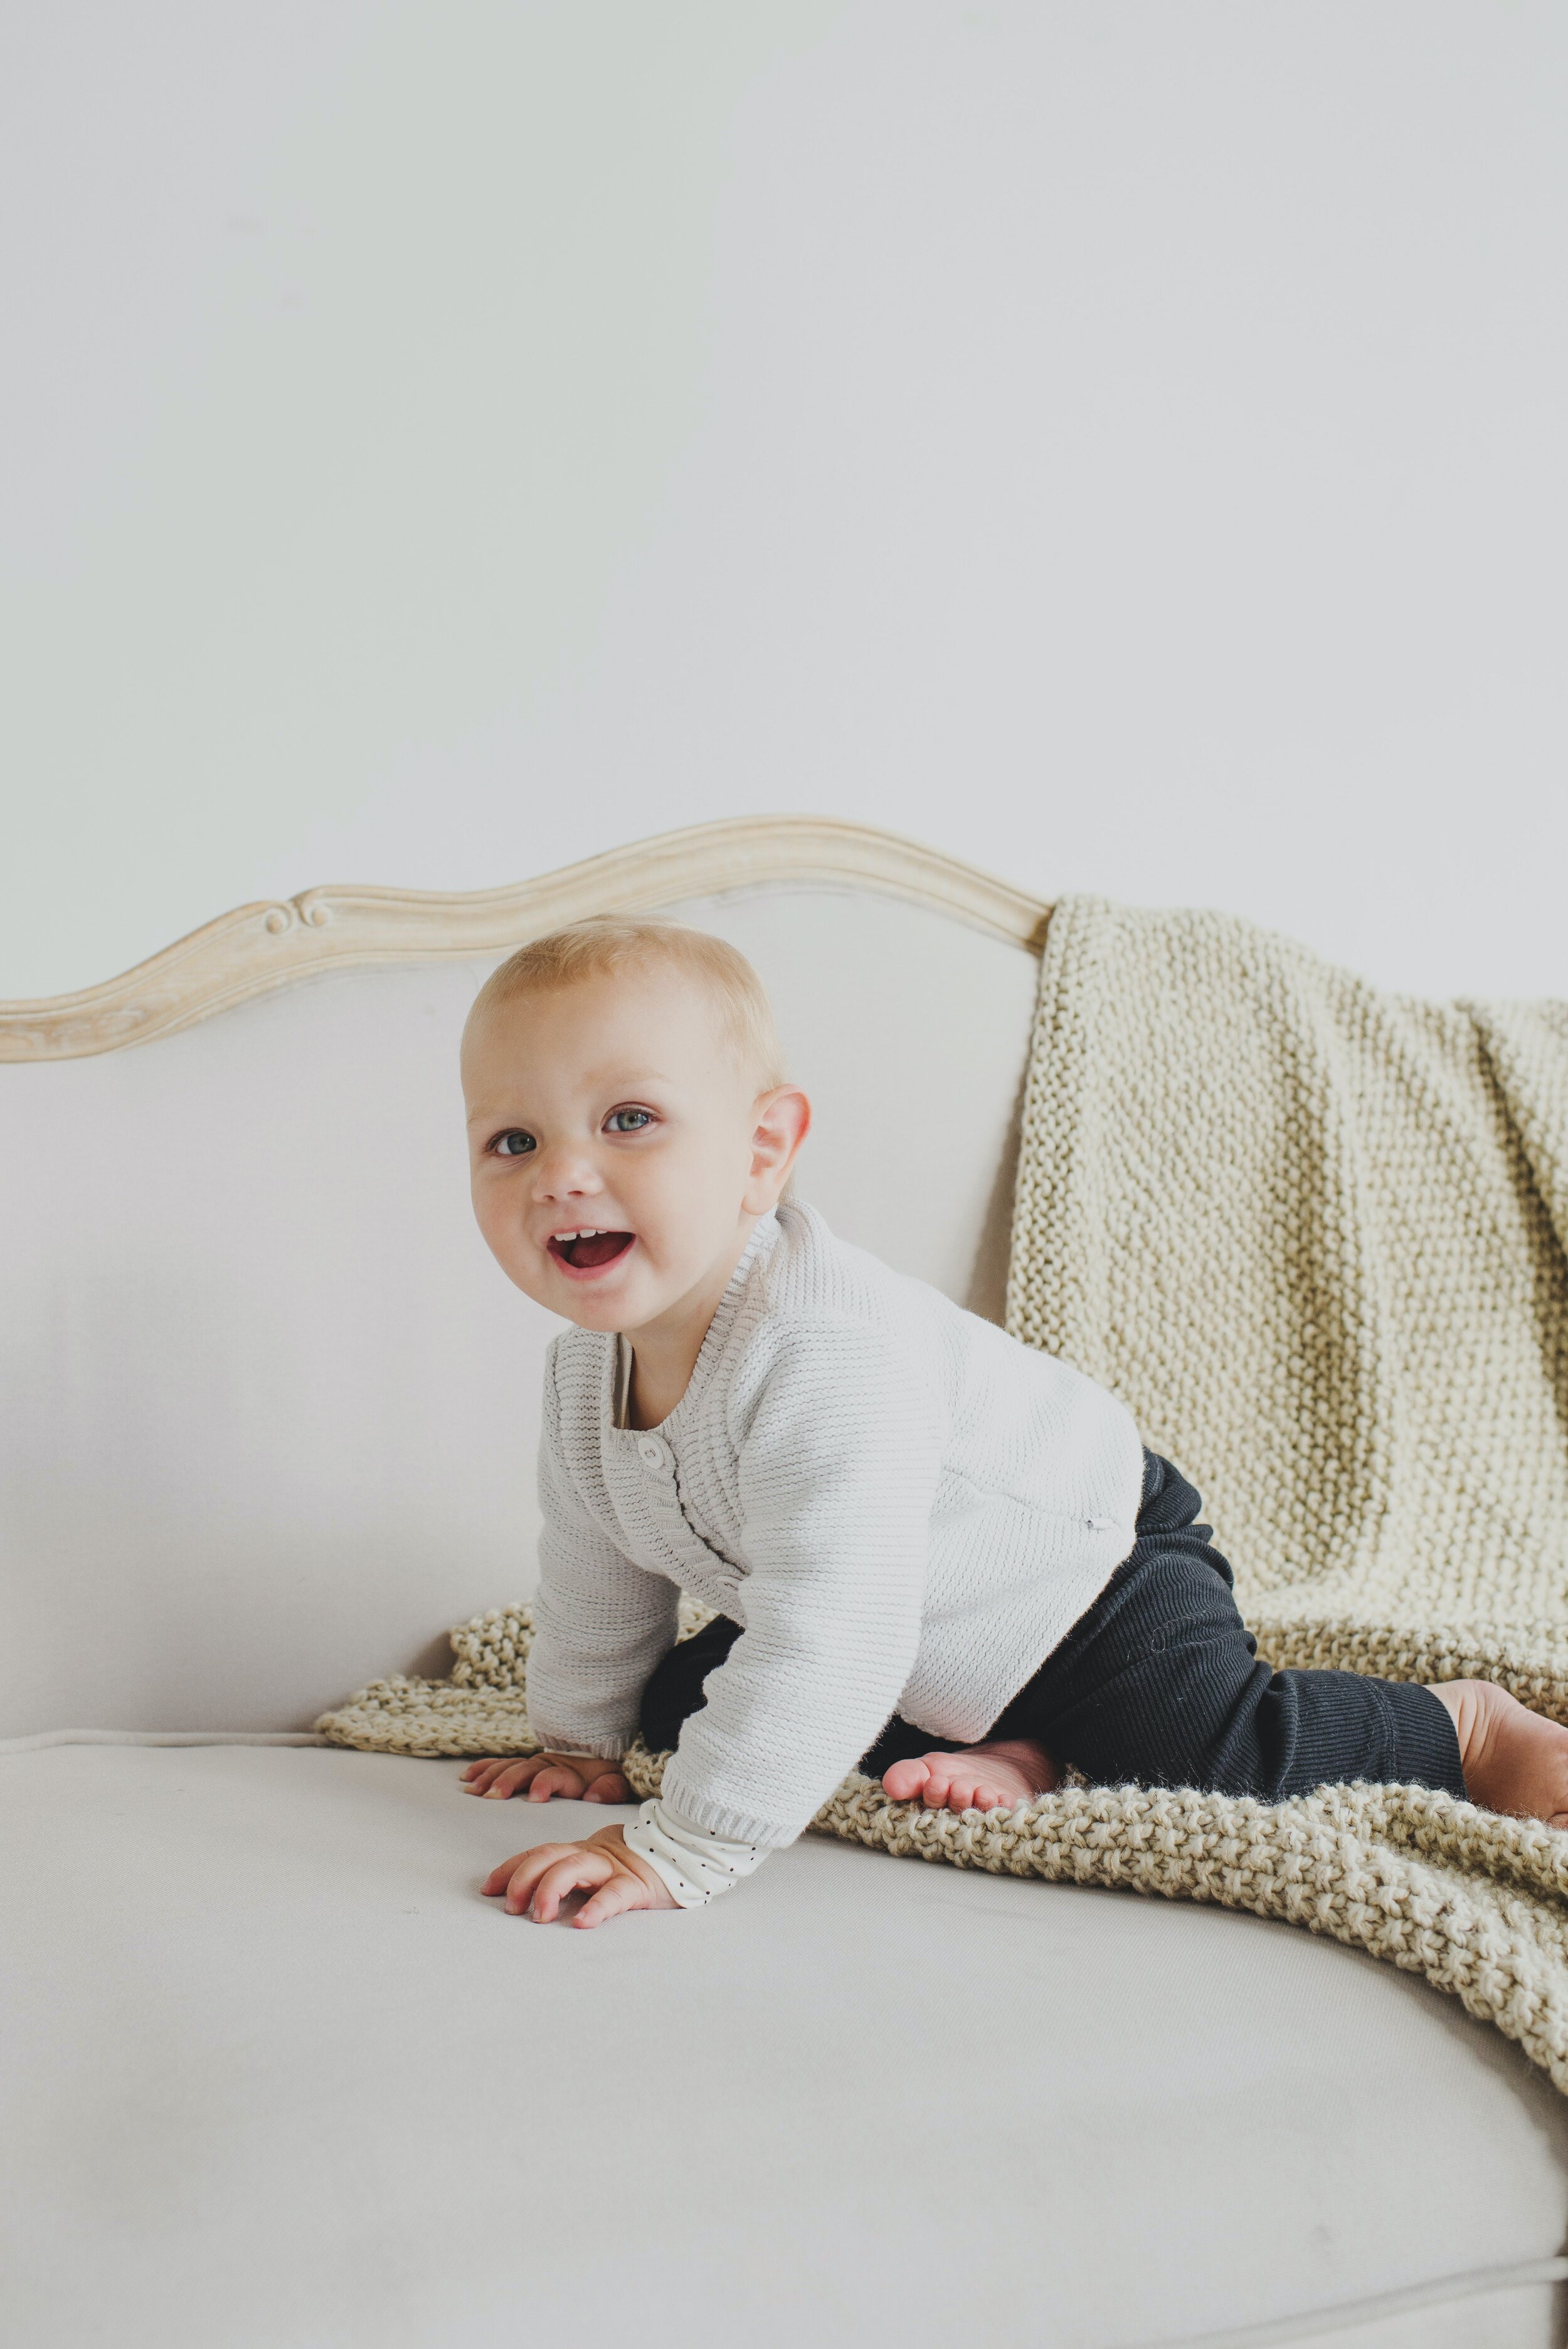
Step 2: Mastering Side-Sitting
Side-sitting is the pose that high-school cheerleaders take during their senior photo shoots. This position and reaching across our body builds our core muscles in a way that stationary sitting and tummy time just can’t.
You can help your baby master this position by literally placing their body into it and playing with them as they sit. Place objects at their side and encourage them to reach across their bodies. As you ask them to reach farther and farther, you may notice your baby gets “stuck” and has to “flip” their opposite leg in order to reach. Hello, side-sitting transition!
When reaching across to the left with their right hand, they will flip their right leg, turning their hip inward. When they bring the toy back to the center, they’ll flip it back to return to that stable ring-sitting position.
Now, they can practice this transition and progress. Practice reaching to the side low and high. He will still need to place his opposite hand on the ground for stability.
It’s common for a child to prefer one side when they initially learn a skill. That’s the case with Declan here:

For both babies, we have spent time playing in side-sitting to help them get used to the position and to physically add a comfortable hip stretch and elongate those same-side back muscles.
To play in side-sit, it’s best to have a stationary toy near shoulder or eye-level. If the position is challenging, you will notice your baby leaning forward on their hands, unable to sit upright with good posture. Wooden box activity cubes and slanted push-walker toys are great for this. However, you might find placing something fun on your ottoman or couch cushion is the perfect height as well.
IMPORTANT: If you feel strong tightness, you notice an inability to achieve side-sitting to one side, or your baby is crying from pain in this position, DO NOT continue to attempt these practices. Consult your pediatrician or local pediatric physical therapist.

Step 3a: Moving from Sitting to Belly
This transition is the same forward and backward, but I’ve found it’s easier to practice this transition from sitting to belly first. Here’s how that goes:
Have your baby reach across with their left hand to their right side, their left leg will flip, turning their left hip inward so they’re side-sitting toward the right. Their right hand will reach the floor, supporting them and they lean to that right side.
As they continue to reach across their body, farther and farther, they may walk their hands out a little, and end up on their belly!
Note: You may need to keep your hand on their left hip or near their chest to help transition slowly, just making sure they don’t face-plant too hard! They also may need help tucking that right leg under as they slither on top of it.
Step 3b: Moving from Belly to Sitting
Let’s reverse it! The movement from belly to sitting is the same transition, but the opposite of what we just did.
It is usually possible around 10-11 months, so Nordin may not be there yet, but his mom now has the tools he needs to help him get there.

Begin by tipping or rolling your baby slightly to their side as they walk their hands in toward their body.
Hold their left hip down with your hand in a “C-shape” to help that hip move toward the ground.
Be sure to have something exciting held up and to the left to encourage your baby to push up to sitting.
Your baby will slowly walk their hands back toward their body, propping on their right elbow and straight left arm. Then, your baby should push straight with all their might!
With that, they’ll be up into a ring-sitting position.
THIS IS WORK. It will take a lot of energy and effort for your baby to try, learn, and master this transition, but they’re strong. With some practice, they’ll love the independence they’ll gain from being able to move in and out of certain positions, enhancing their play options and getting stronger by the day.